Unlock the Goodness: The Benefits of Homemade Yogurt
In a world increasingly conscious of what goes into our bodies, the allure of crafting our own food from scratch has never been stronger. Among the most rewarding and beneficial culinary endeavors is learning
how to make yogurt recipe at home. Beyond the simple joy of creating something delicious, homemade yogurt offers a significant upgrade in terms of health, taste, and control over ingredients. Say goodbye to mysterious additives and welcome a truly pure, creamy, and nourishing staple into your kitchen.
Why Homemade Yogurt is a True Game-Changer
For many, yogurt is a daily ritual – a quick breakfast, a healthy snack, or a versatile ingredient in various dishes. However, store-bought yogurts, while convenient, often come laden with hidden sugars, artificial flavors, thickeners, and preservatives. Making your own yogurt at home transforms this humble dairy product into a nutritional powerhouse, giving you complete command over its contents.
One of the most compelling reasons to embrace a homemade yogurt recipe is the undeniable health advantage. You eliminate preservatives, artificial colors, and excess sugar that frequently creep into commercial products. This means a purer product, richer in beneficial live and active cultures that are crucial for gut health. Furthermore, the satisfaction of enjoying a bowl of perfectly creamy, tangy yogurt that you've crafted yourself is unparalleled. It becomes a foundation for endless culinary possibilities, from a simple fruit bowl to a high-protein addition to savory meals like Turkish eggs or fluffy ricotta pancakes.
The convenience factor is also surprisingly high. Once you master the method, whipping up a batch becomes second nature. Many home cooks find that using a dedicated yogurt maker simplifies the process considerably, eliminating common pitfalls like scorching milk or tying up the oven for hours. The ease of portioning and dating individual servings makes it an ideal choice for meal prepping, ensuring you have healthy, ready-to-eat options for days. Homemade yogurt typically keeps well in the refrigerator for up to 10 days, making it a fantastic addition to your weekly routine.
Crafting Your Own Creamy Delight: The How-To Guide
Understanding
how to make yogurt recipe involves a few key steps, but once you get the hang of it, you'll wonder why you ever bought it from the store. The secret to thick, creamy, and consistent yogurt lies in quality ingredients and careful temperature control.
Essential Ingredients for Your Homemade Yogurt Recipe
Starting with the best possible ingredients is paramount for an exceptional end product.
*
Milk: This is the foundation of your yogurt.
*
Whole Milk: For the ultimate in thickness and creaminess, whole milk is your best friend. Its higher fat content directly translates to a richer, more luxurious texture.
*
2% Milk: A good compromise if you're looking for a slightly lighter option that still yields a satisfyingly creamy result. It won't be as thick as whole milk yogurt but is still delicious.
*
Skim Milk: While possible, skim milk will produce a much thinner yogurt due to the absence of fat.
*
Goat's Milk: Offers a unique flavor profile and can be a great alternative for those with sensitivities to cow's milk.
*
Organic, Grass-Fed Milk: Prioritizing high-quality milk ensures a better flavor and potentially more nutrients in your final product.
*
Yogurt Starter: This introduces the beneficial bacteria that transform milk into yogurt.
*
Powdered Yogurt Starter: Products like Yogourmet are reliable and specifically designed for consistent results.
*
Plain Yogurt from a Previous Batch: Once you've made your first batch, you can use 2-3 tablespoons of your own homemade yogurt as a starter for the next, perpetuating a delicious cycle.
*
High-Quality Store-Bought Yogurt: Ensure it explicitly states "live and active cultures" on the label and is unflavored and unsweetened. Read the ingredients carefully to avoid any unwanted additives.
Equipment Choices: Stovetop vs. Yogurt Maker
While you can certainly master a
how to make yogurt recipe using traditional stovetop and oven methods, many home yogurt enthusiasts gravitate towards specialized equipment for consistency and convenience.
*
The Stovetop & Oven Method: This classic approach involves heating milk in a pot on the stove and then incubating it in a warm oven or insulated container. While effective, it can be prone to issues like scorching the milk (a real cleaning headache!) or requiring your oven to be occupied for 8+ hours.
*
Yogurt Makers: A dedicated yogurt maker, such as those from Euro Cuisine, can be a game-changer. They offer precise temperature control for incubation, minimizing the risk of failure. Many models come with individual portion jars, complete with date stamps, making meal prep and tracking freshness incredibly easy. For a deeper dive into which method might be best for you, explore our article on
Yogurt Maker vs. Stovetop: The Easiest Homemade Yogurt Method.
Step-by-Step: Your Foolproof Homemade Yogurt Recipe
This guide will focus on the principles that apply to any method, emphasizing the critical temperature stages.
1.
Heat the Milk (to 180°F / 82°C): This crucial step serves two primary purposes. First, it kills any existing undesirable bacteria in the milk, creating a clean slate for your starter cultures to thrive. Second, and equally important, heating the milk to this temperature denatures the proteins, allowing them to form a stronger network during incubation. This protein restructuring is key to achieving a thicker, firmer yogurt. Use an instant-read thermometer for accuracy.
2.
Cool the Milk (to 112-115°F / 44-46°C): After heating, the milk must cool down to a specific temperature range before introducing the starter. This "sweet spot" is warm enough to activate and encourage the growth of your beneficial cultures but not so hot that it kills them. Patience is key here; rushing this step can lead to thin or failed yogurt. Again, your instant-read thermometer is indispensable.
3.
Add the Yogurt Starter: Once the milk reaches the ideal temperature, gently whisk in your chosen yogurt starter. Ensure it's thoroughly combined without overmixing.
4.
Incubate: This is where the magic happens. The inoculated milk needs a consistently warm environment for several hours to allow the bacteria to ferment the lactose and thicken the milk into yogurt.
*
Yogurt Maker: Simply pour the mixture into the individual jars (if applicable), set them in the yogurt maker, and follow the manufacturer's instructions for incubation time (typically 6-10 hours).
*
Stovetop/Oven: Transfer the mixture to a clean, warm container, cover it, and place it in a warm spot, such as an oven with just the pilot light on, a cooler with warm water, or a specialized warm-keeping appliance.
*
Incubation Time: The longer the incubation, the tangier and often thicker your yogurt will be. Experiment to find your preferred taste and texture. For tips on achieving the perfect consistency every time, check out our guide to
Foolproof Homemade Yogurt: Thick & Creamy Every Time.
5.
Chill: Once your yogurt has reached the desired consistency and tang, remove it from incubation and refrigerate immediately. Chilling stops the fermentation process and further thickens the yogurt. It's best to let it chill for at least 4 hours before serving.
The Abundant Benefits: Healthier & Preservative-Free
The journey of learning
how to make yogurt recipe culminates in a product packed with health advantages that far surpass its store-bought counterparts.
*
Preservative-Free Purity: This is perhaps the most straightforward benefit. By making yogurt at home, you completely control the ingredients. There are no artificial colors, flavors, stabilizers, or mystery ingredients—just milk and live cultures.
*
Boosted Gut Health: Homemade yogurt is a living food, teeming with live and active cultures (probiotics) like *Lactobacillus bulgaricus* and *Streptococcus thermophilus*. These beneficial bacteria contribute to a healthy gut microbiome, which is vital for digestion, nutrient absorption, and even immune function. Many commercial yogurts, especially those heat-treated after fermentation, may have fewer active cultures.
*
Control Over Sugar Content: This is a massive advantage. Most flavored store-bought yogurts are sugar bombs. With homemade yogurt, you start with plain, unsweetened goodness. You can then add natural sweeteners like honey, maple syrup, or fresh fruit to taste, or enjoy it savory.
*
Higher Protein & Nutrient Density: Especially when using whole milk, homemade yogurt can be a rich source of high-quality protein, calcium, and other essential nutrients without the fillers. The fermentation process can also make dairy easier to digest for some individuals.
*
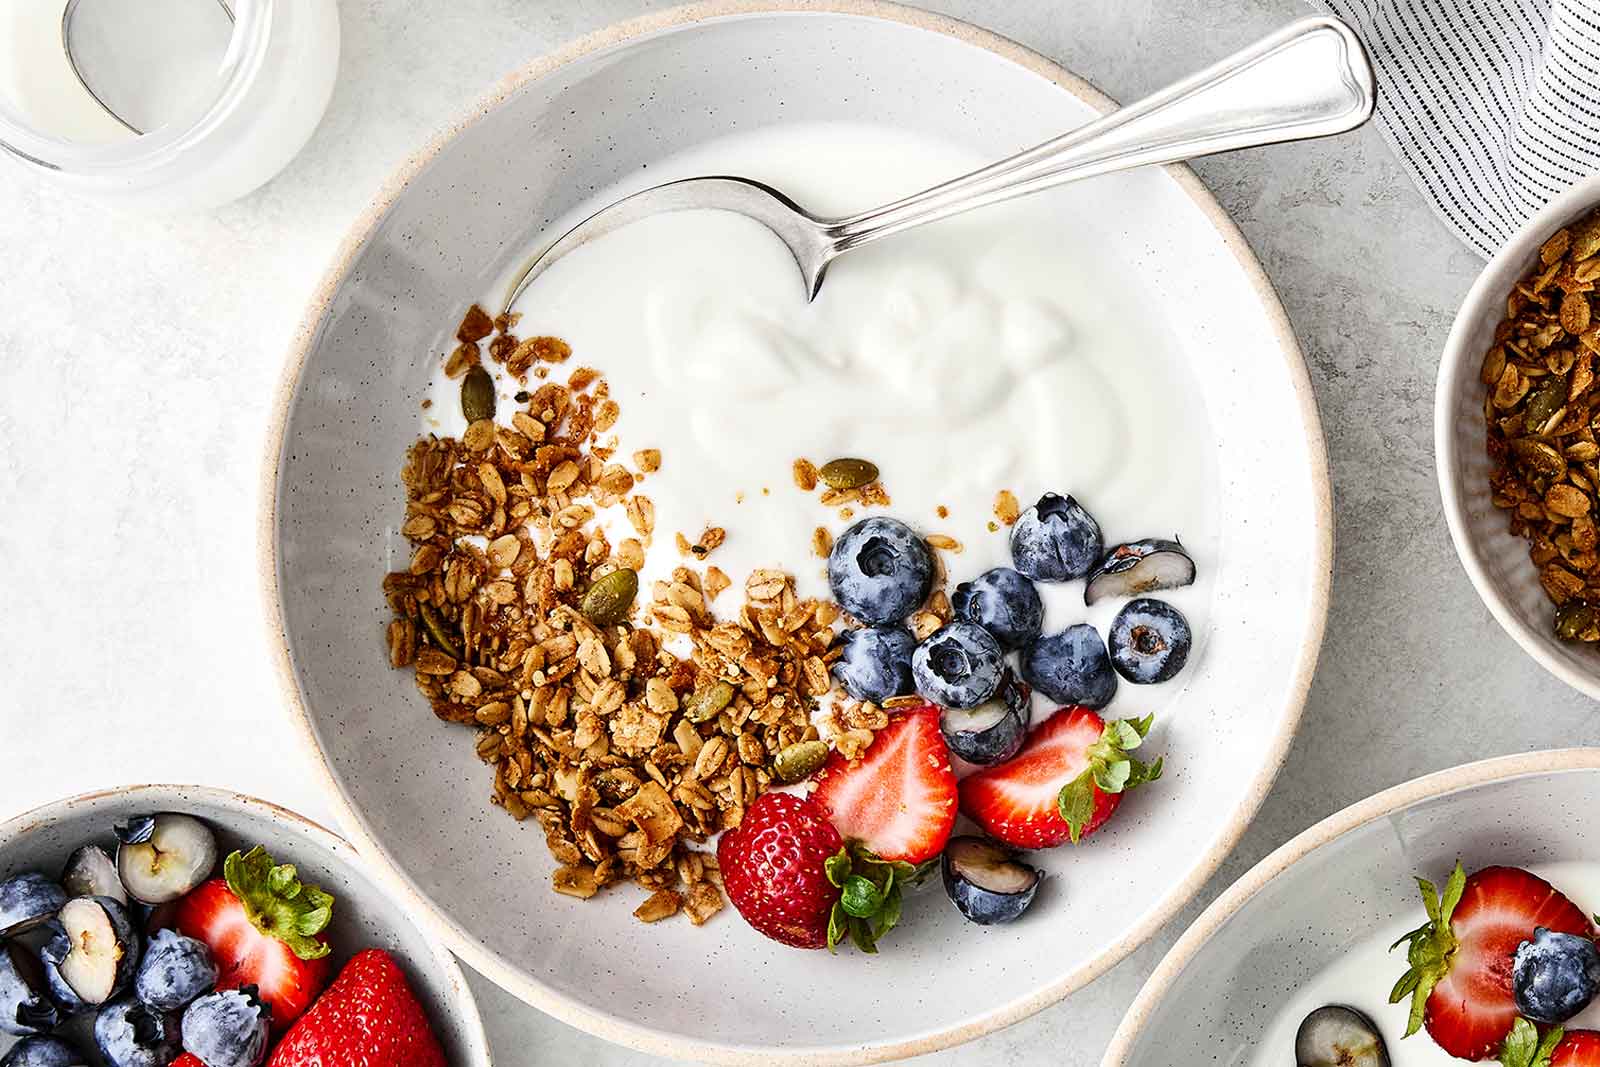
Customization & Versatility: Your plain homemade yogurt is a blank canvas. Swirl in fresh berries, granola, chia seeds, or a drizzle of honey for a classic breakfast. Use it as a base for creamy salad dressings, a tangy marinade, a substitute for sour cream, or dollop it onto curries and chilis. The possibilities are endless, allowing you to incorporate healthier, preservative-free ingredients into more meals.
Conclusion
Embracing a homemade yogurt recipe is more than just a culinary skill; it's an investment in your health and well-being. From the satisfying process of creation to the superior taste and myriad health benefits, making your own yogurt is a rewarding journey. You gain complete control over ingredients, sidestep unwanted additives, and nourish your body with a truly live, active, and delicious food. So, gather your ingredients, follow these simple steps, and prepare to elevate your daily routine with the irresistible goodness of homemade yogurt.