Imagine a world where your daily yogurt fix is not only incredibly delicious and perfectly creamy but also made right in your kitchen, free from any questionable additives or preservatives. For many, this dream becomes a reality through homemade yogurt. But the big question often arises: what's the easiest and most reliable how to make yogurt recipe – should you rely on traditional stovetop methods, or invest in a dedicated yogurt maker?
Having explored various approaches and made countless batches, it’s clear that while the end goal is the same, the journey can differ significantly. This article will delve into both popular methods, highlighting their pros and cons, and ultimately guide you toward the simplest path to homemade yogurt perfection.
Why Embrace Homemade Yogurt? The Ultimate Kitchen Game-Changer
Making your own yogurt isn't just a culinary adventure; it's a lifestyle upgrade. Beyond the satisfaction of creating something from scratch, there are compelling reasons why homemade yogurt is a true kitchen staple:
- Unmatched Freshness and Flavor: Store-bought options simply can't compete with the fresh, tangy taste of yogurt made hours ago in your kitchen.
- Superior Health Benefits: You control every ingredient, ensuring no added sugars, thickeners, or artificial flavors. This means a purer product with abundant live, active cultures crucial for gut health. For a deeper dive into the health advantages, read more about The Benefits of Homemade Yogurt: Healthier & Preservative-Free.
- Cost-Effective: While there's an initial investment in a yogurt maker (if you choose that route), the long-term savings on quality yogurt are substantial.
- Perfect for Meal Prep: A batch of homemade yogurt lasts up to 10 days in the fridge, making it an ideal component for quick breakfasts, healthy snacks, or high-protein additions to meals like Turkish eggs or lemon ricotta pancakes.
- Customization Galore: From adjusting the tanginess by varying incubation times to choosing your preferred milk type, you have complete control over the final product.
The Traditional Stovetop & Oven Method: A Closer Look at the Challenges
Historically, people have made yogurt using just a stovetop and an oven, or even a warm insulated spot. This method involves heating milk on the stove, cooling it, adding a starter, and then incubating it in a warm environment (often a switched-off oven with the light on, or a cooler with hot water bottles) for several hours.
While certainly viable, this approach often presents a few hurdles:
- Temperature Precision: Maintaining the milk's temperature at precisely 180°F (for heating) and then cooling it to the optimal 112-115°F (for adding starter) requires constant vigilance and an accurate thermometer. Overheating can scorch the milk, leading to an unpleasant taste and a messy clean-up. Undercooking fails to kill unwanted bacteria and properly denature proteins for thickness.
- The Mess Factor: Boiling milk on the stovetop can easily lead to boil-overs if not carefully monitored, creating a sticky, frustrating mess. Scorching milk to the bottom of the pan is also a common issue, making cleanup a chore.
- Oven Occupancy: The incubation period can last anywhere from 6 to 10 hours or even longer. Tying up your oven for this duration can be inconvenient, especially for those who multi-task in the kitchen or need their oven for other cooking tasks.
- Inconsistent Results: Without precise temperature control during incubation, results can vary. One batch might be perfectly thick and creamy, while the next could be thin and runny due to temperature fluctuations.
The Yogurt Maker Advantage: Consistency, Convenience, Control
After navigating the trials and tribulations of the stovetop method, many, myself included, discover the undeniable benefits of a dedicated yogurt maker. For anyone serious about making yogurt a regular part of their routine, a yogurt maker is a game-changer for a consistent, foolproof how to make yogurt recipe.
Here’s why a yogurt maker, like the Euro Cuisine models mentioned by many enthusiasts, often trumps traditional methods:
- Effortless Temperature Control: This is the single biggest advantage. Yogurt makers are designed to maintain the ideal incubation temperature with precision, ensuring the beneficial bacteria thrive without being killed by excessive heat or becoming sluggish in a cool environment. This eliminates the guesswork and drastically reduces the chance of failure.
- No More Mess or Scorching: While the initial milk heating still happens on the stovetop (or in a microwave), the incubation phase is clean and contained within the appliance. Say goodbye to boil-overs and scorched pots from lengthy incubation.
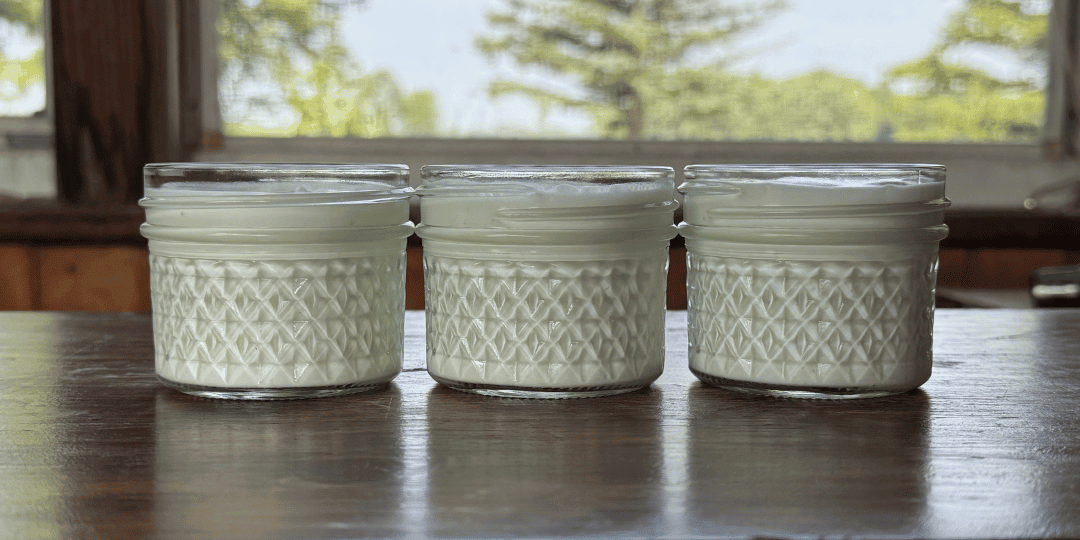
- Perfectly Portioned & Organized: Many yogurt makers come with individual serving jars, complete with lids that often include date stamps. This makes meal prepping a breeze, ensures consistent portion sizes, and helps you keep track of freshness. No more large, unwieldy containers or guessing when your yogurt was made.
- Set-and-Forget Convenience: Once the milk is heated, cooled, and mixed with the starter, you simply pour it into the jars, place them in the maker, and set the timer. The machine handles the rest, freeing up your oven and your time.
- Consistently Flawless Results: The reliable temperature control of a yogurt maker translates directly into consistently thick, creamy, and delicious yogurt batches every single time.
Your Essential Homemade Yogurt Recipe: A Universal Process
Regardless of whether you choose the stovetop or a yogurt maker for incubation, the core steps for a successful how to make yogurt recipe remain the same. This method is designed to be foolproof, ensuring thick and creamy results:
- Heat the Milk to 180°F: This critical step serves multiple purposes. Heating the milk to this temperature denatures the proteins, allowing them to form a thicker, creamier texture during fermentation. It also pasteurizes the milk, killing any unwanted bacteria that could compete with your yogurt cultures. Use a heavy-bottomed pot to prevent scorching and an instant-read thermometer for accuracy. Stir occasionally to prevent sticking.
- Cool the Milk to 112-115°F: After heating, remove the milk from the heat and allow it to cool down. This temperature range is the "sweet spot" for your yogurt cultures. If the milk is too hot, it will kill the beneficial bacteria; if it's too cool, they won't activate effectively, leading to thin yogurt. An ice bath can speed up this cooling process, but always use your instant-read thermometer to confirm the temperature before proceeding.
- Add the Yogurt Starter: Once the milk reaches the optimal temperature, whisk in your chosen yogurt starter. This introduces the live, active cultures that will transform the milk into yogurt. Mix thoroughly but gently to ensure even distribution.
- Incubate for 6-10 Hours (or Longer): This is where your chosen method comes into play. If using a yogurt maker, pour the mixture into its jars, place them in the machine, and set the timer. If using the stovetop/oven method, carefully transfer the mixture to clean jars or a large container, cover it, and place it in your chosen warm incubation spot. The longer the incubation, the tangier and often thicker the yogurt will be. Some prefer up to 12-14 hours.
- Chill for at Least 4 Hours: Once incubation is complete, cover your yogurt (if not already in sealed jars) and refrigerate it for a minimum of 4 hours. Chilling is crucial as it stops the fermentation process and allows the yogurt to firm up and thicken further. Don't skip this step!
For more detailed tips on achieving that consistently thick and creamy texture, check out our guide on Foolproof Homemade Yogurt: Thick & Creamy Every Time.
Key Ingredients for Your Perfect Batch
Starting with quality ingredients is paramount for the best homemade yogurt. Here's what you'll need:
Milk
The type of milk you choose directly impacts the thickness and creaminess of your yogurt:
- Whole Milk: This is the gold standard for the creamiest, thickest yogurt due to its higher fat content. Grass-fed organic whole milk often yields the best flavor and texture.
- 2% Milk: Will produce a slightly thinner yogurt than whole milk but still offers a good balance of creaminess.
- Skim Milk: Results in the thinnest yogurt, which may require straining to achieve a thicker consistency.
- Goat's Milk: A great alternative for those with cow's milk sensitivities, it produces a unique, tangy flavor.
No matter the fat content, ensure your milk is fresh and high-quality. Using ultra-pasteurized milk can sometimes lead to thinner yogurt, so look for regular pasteurized milk if possible.
Yogurt Starter
The starter introduces the live, active bacterial cultures that convert lactose into lactic acid, transforming milk into yogurt. You have a few options:
- Powdered Yogurt Starter: These are reliable, often contain specific strains for consistency, and are shelf-stable. Brands like Yogourmet are popular choices.
- Plain Yogurt from a Previous Batch: Once you've made a successful batch, you can reserve 2-3 tablespoons to culture your next one. This is cost-effective and creates a continuous cycle. Just ensure it's within 7-10 days old for optimal culture viability.
- High-Quality Store-Bought Plain Yogurt: Look for a brand that explicitly states "live and active cultures" in its ingredients. Avoid flavored yogurts, those with thickeners, or added sugars, as these can interfere with the fermentation process. A full-fat, plain Greek yogurt often works well.
Conclusion
Embarking on the journey of making your own yogurt is a rewarding experience, offering health benefits, customization, and unparalleled freshness. While the traditional stovetop method is certainly doable, the modern convenience and consistent results offered by a dedicated yogurt maker make it the superior choice for many, especially for those seeking a truly foolproof how to make yogurt recipe. By understanding the simple steps and selecting quality ingredients, you're well on your way to enjoying delicious, homemade yogurt whenever the craving strikes. So, choose your method, gather your ingredients, and prepare to elevate your breakfast, snacks, and culinary creations!
